Lean on Me: Why Use a Moss Pole
Your Monstera isn't just being dramatic — climbing aroids genuinely want something to grab onto. Here's why a moss pole changes everything, plus my tips for setting one up and keeping it happy.
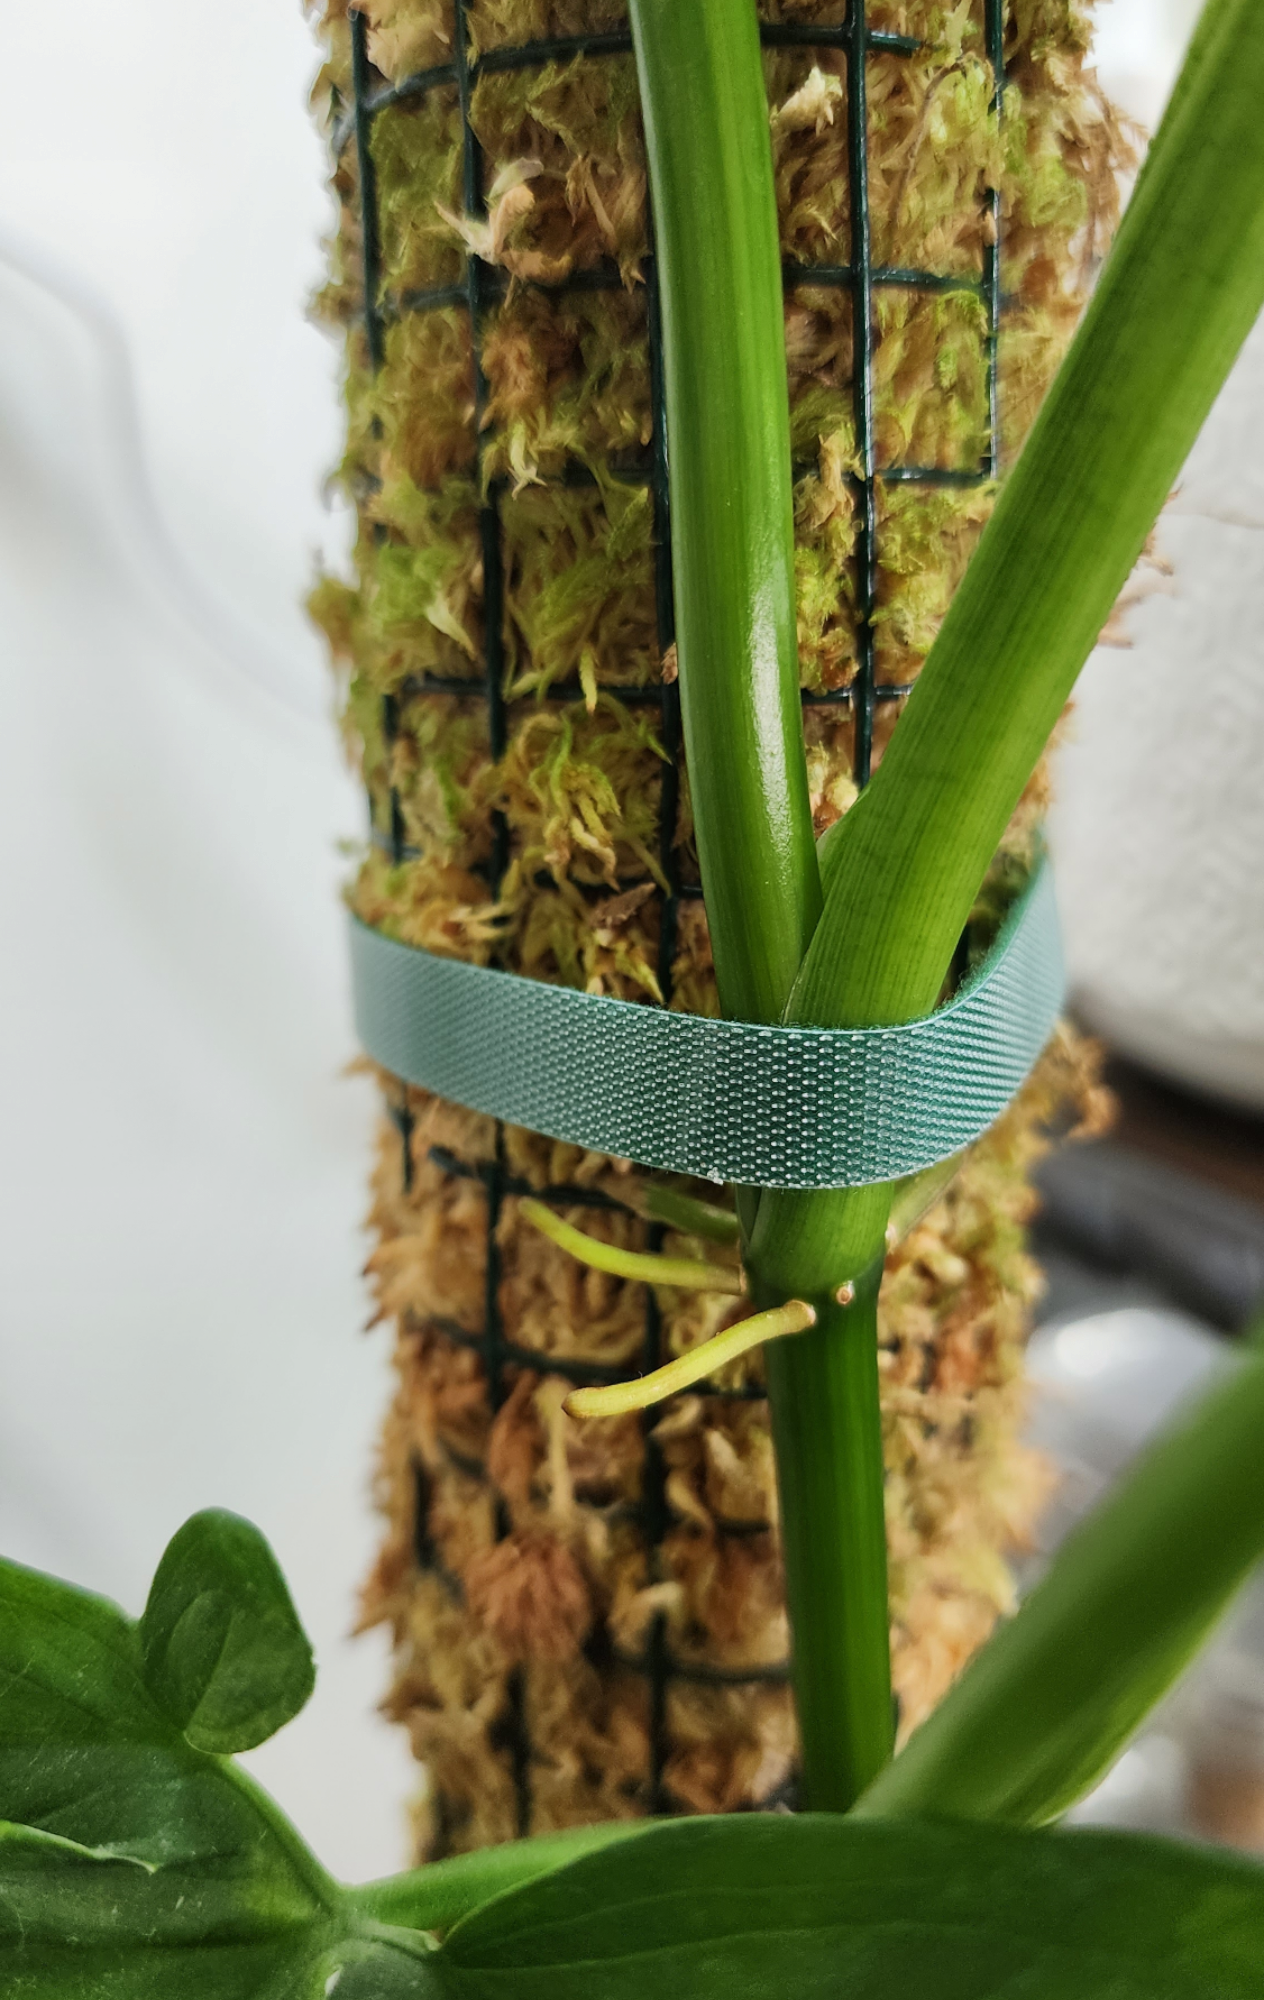
If you've ever watched your Monstera flop sideways across the room like it's had one too many, I have good news: it's not being dramatic, it's just homesick. In the wild, plants like Monstera, Pothos, Philodendron and Syngonium are climbers. They spend their lives scrambling up tree trunks, anchoring themselves with aerial roots and reaching ever upward toward the light. A vining plant that is trailing in a pot is still a beautiful display, but it will never truly reach full maturity. Offer a plant the appropriate support and it has the potential to completely transform the visual of a leaf.
Break it down: What actually is a moss pole?
It's exactly what it sounds like — a wire tube or pole stuffed with sphagnum moss that mimics the mossy tree trunks these plants would naturally climb. The aerial roots grab onto the damp moss and the plant begins to climb. Here's where the magic happens. When a climbing aroid gets to climb, it often rewards you with much much bigger leaves. Many aroids produce larger, more mature foliage as they climb — those gorgeous fenestrations (the holes and splits in Monstera leaves) tend to come on stronger when the plant has support and height. It also creates a much larger root system, as the aerial roots get to do their actual job. Think of your moss pole as an extension of the pot, more roots are always going to produce a happier, healthier and bigger plant.
Straight outta Sphagnum; Make your own moss pole
Make your own (it's easier than you think) You don't need to spend a fortune on fancy pre-made poles. Our DIY Moss Pole Packs (available at Moss & Myrtle) come with pre-cut powder coated wire, so it won't rust. And enough cable ties to make four poles — just add moss. We also stock Besgrow Sphagnum Moss in various sizes, so you can grab as much or as little as you need. Follow this link for a quick tutorial on how to make a moss pole:
LINK
Stuck on you: Securing your plant to the pole
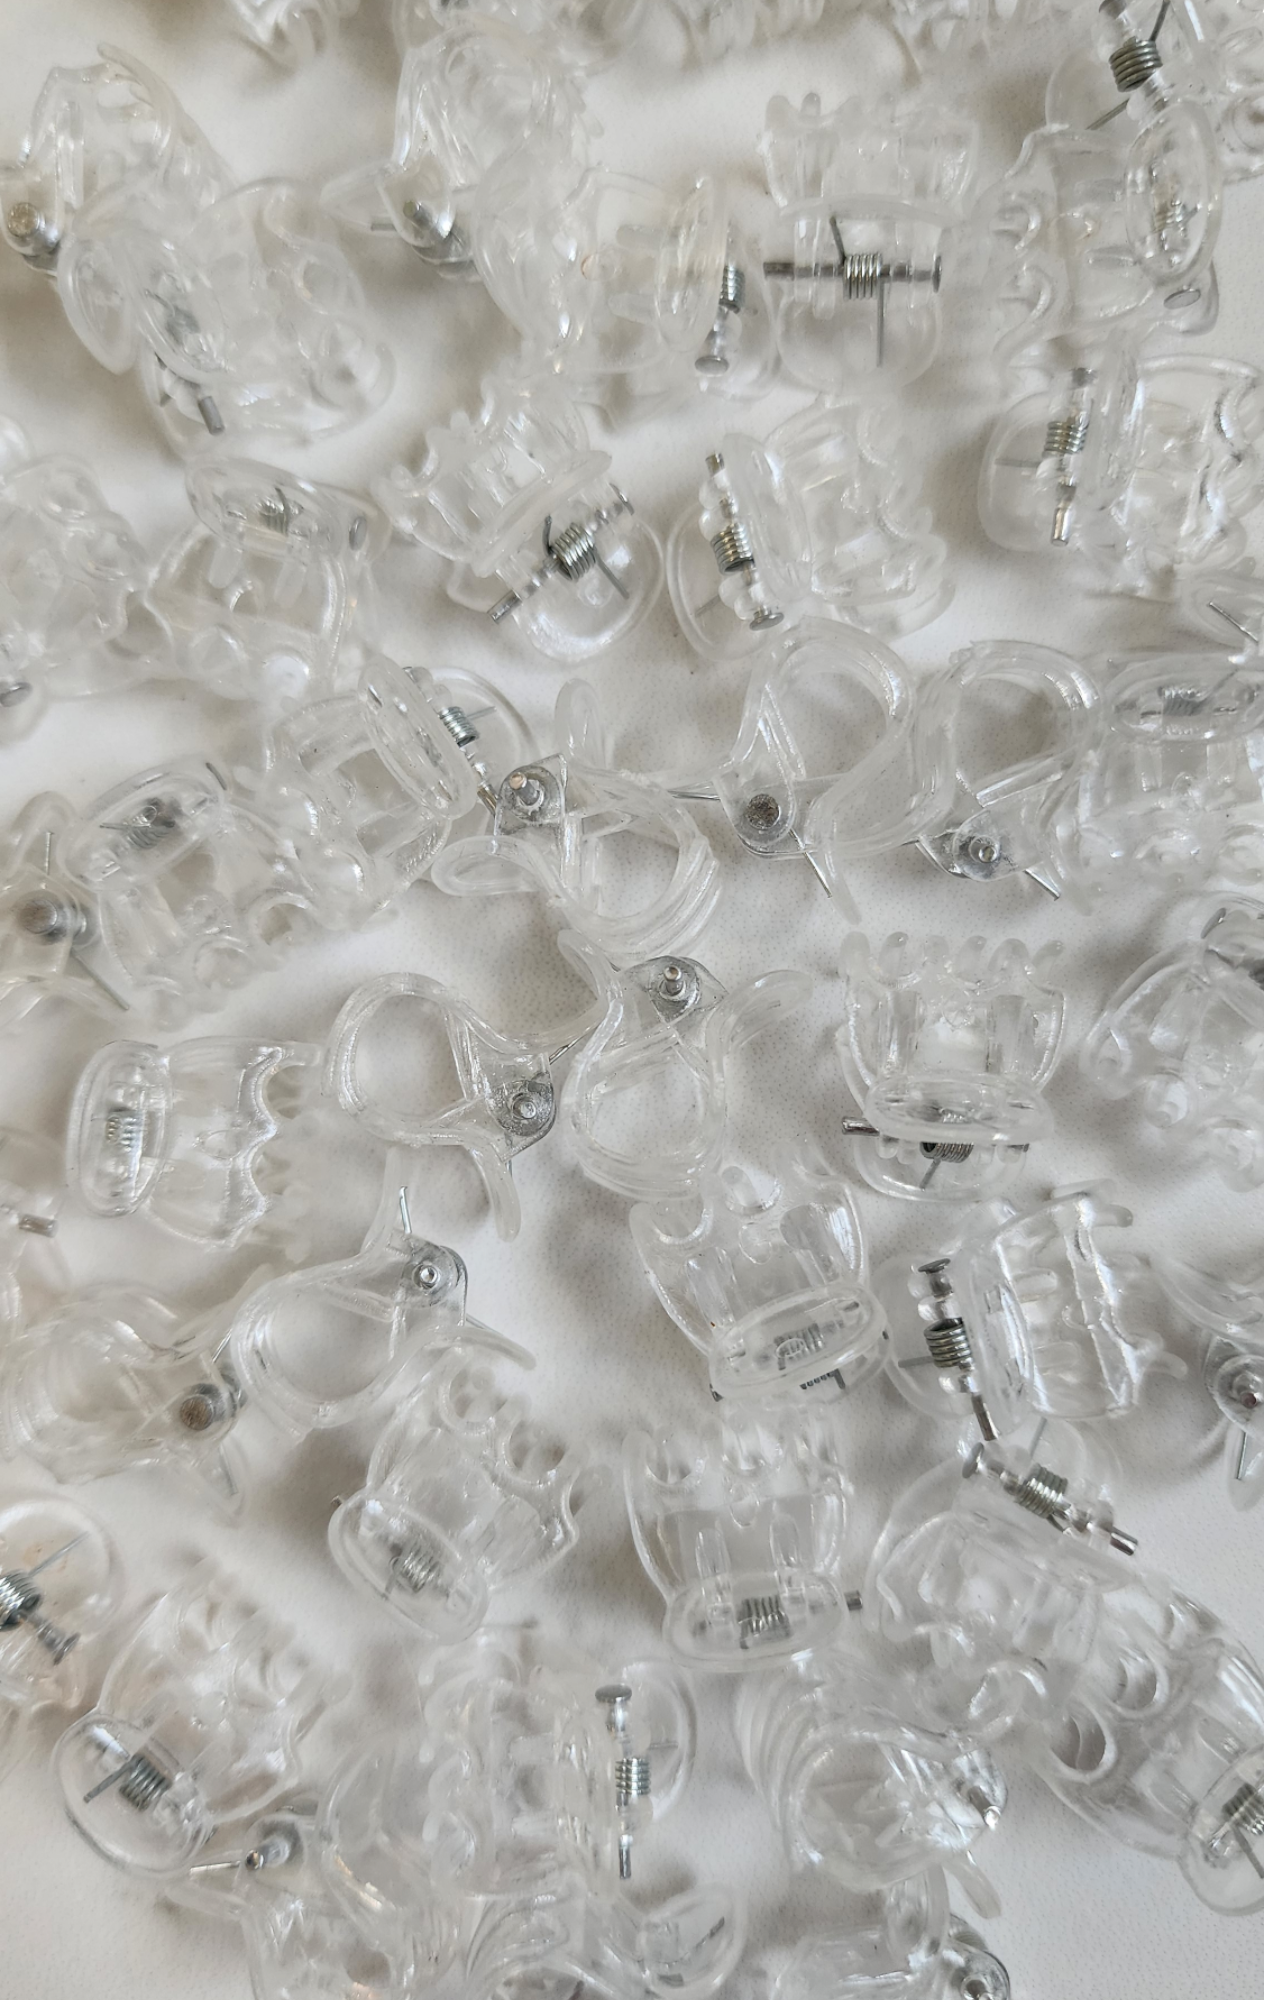
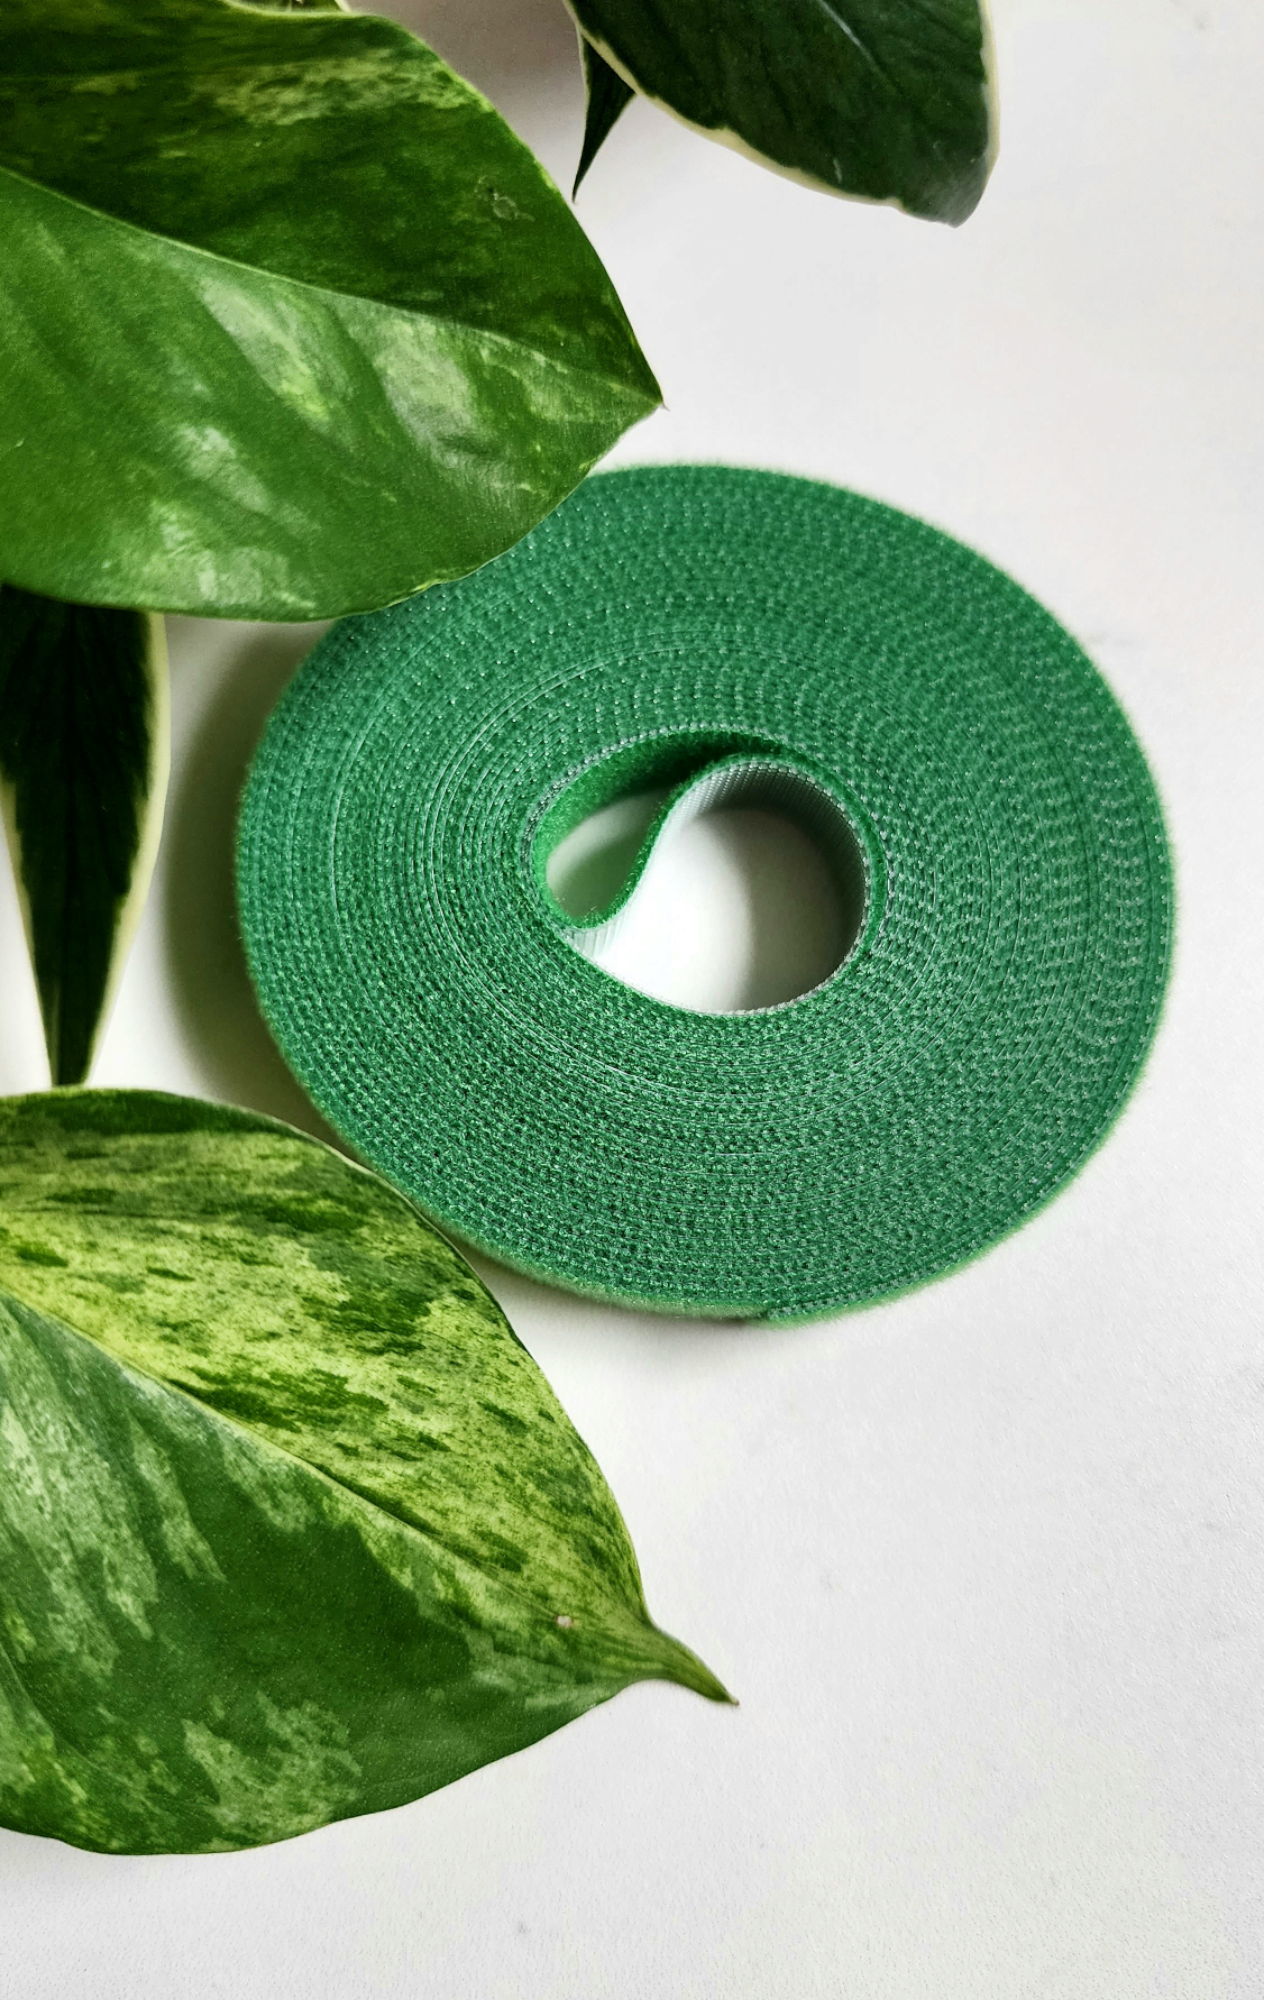
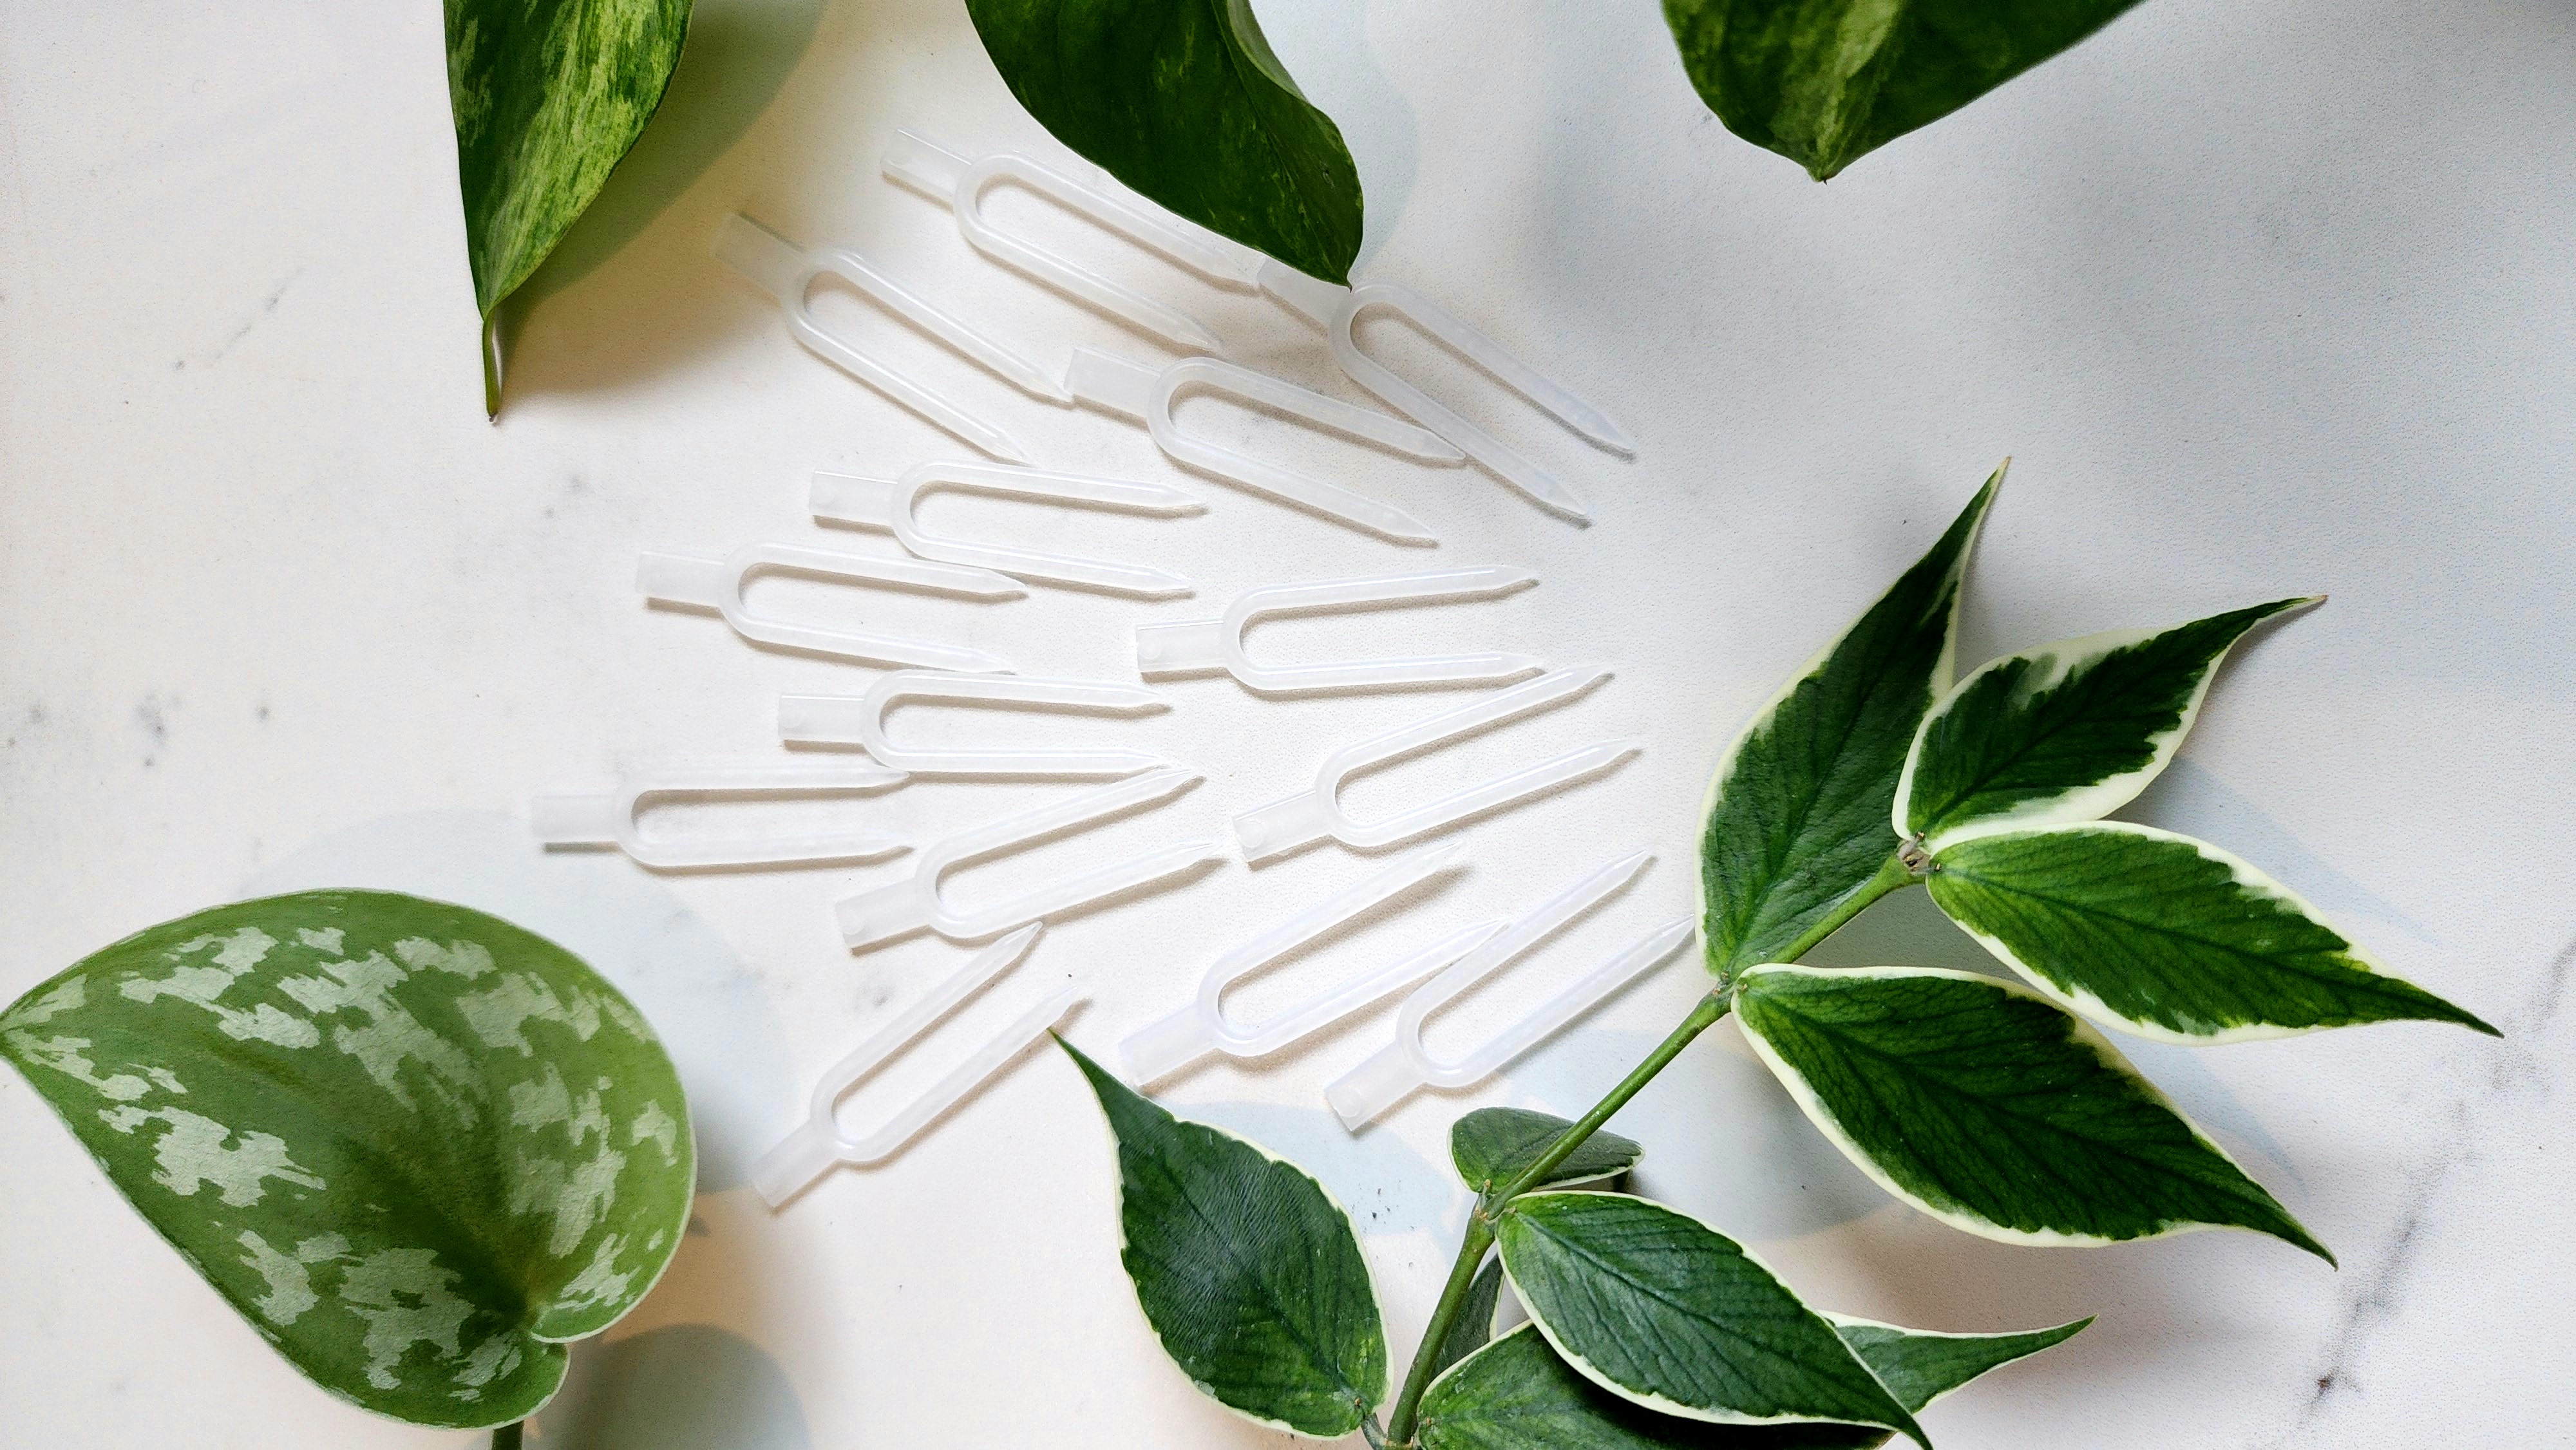
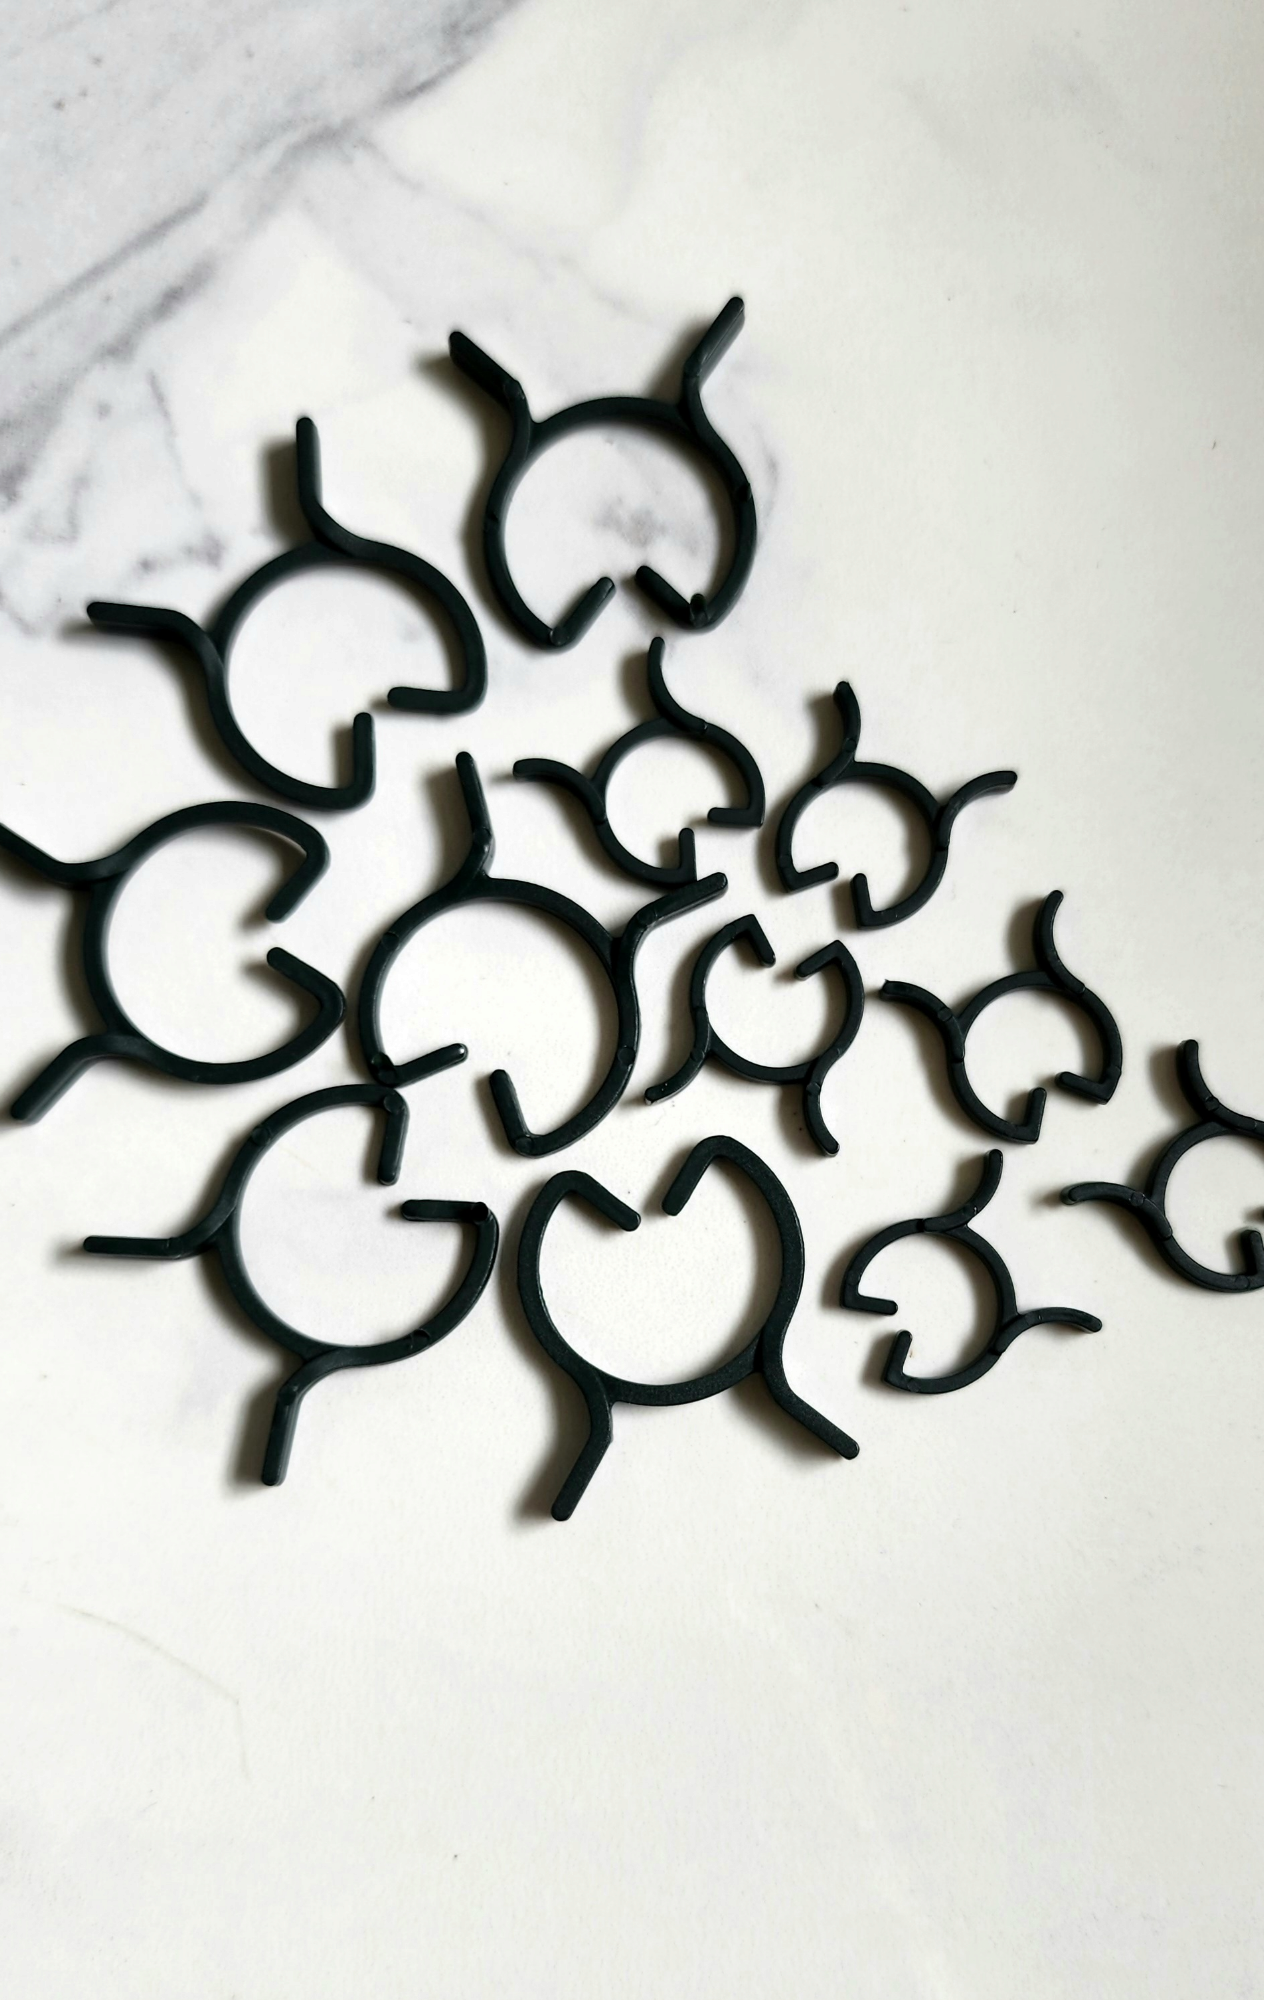
Setting up a pole is easiest when your plant is young. It gives the plant the opportunity to take root early and start throwing out those large leaves sooner and the aerial roots will have an easier time attaching themselves as they grow rather than once they are established. I would also recommend growing your plant straight up the pole as opposed to twisting it around the pole. Adding more than one stem is a quick and easy way to create a lush plant, just be careful you aren't crowding the pole too much. Make sure your pole is potted all the way down at the base of the pot give it as much stability as possible. When it comes to attaching your plant to the pole, there are numerous ways to do this and it really comes down to preference and the type of plant you have — Velcro Plant Tape, Orchid Clips, Plant Pins and Flexi Clips are all options (all available at Moss & Myrtle). Don't strangle the stem; just guide it and encourage the aerial roots toward the moss. Over time they'll grab on themselves.
Moist, moist baby: Watering your moss pole
A dry moss pole is just a stick, the roots will still take hold but the whole point is moisture — the aerial roots want to burrow into damp moss, not crunchy disappointment. One easy trick: take a bottle, drill a few small holes in the lid, fill it with water and pop it upside down into the top of the pole that you have made a divot in. It'll slowly trickle down and keep the moss damp for you. Make sure you are regularly feeding your moss poles just as you would the pot. Knowing when it's time to water your pole is easy. Just give it the 'crunch test'. Squeeze the pole, if it's crunchy, it's time to water. Keep in mind, the top dries out way quicker, so make sure you squeeze near the base too!
End of the line: What happens when your plant reaches the top of your pole?
This is where chop and extends come in. How high you extend you pole, is personal preference, but there are a few things that require some consideration. Firstly, how fat you make them matters! I used to make them 14 across and crossed over at the join. Then a friend who grows incredible plants on moss poles, gave me some he had grown that were the full 18 squares around. This produced a pole that was more stable, stayed moist longer and had more room for those aerial roots. As for the height, I personally only use two poles normally. I wasn't blessed by the height Gods and at a measly 4'11, any more then 2 poles is just going to be problematic. It also means the plant is generally more stable (using a heavy ceramic outer pot also helps with stability) A chop and extend is when you want to continue growing your plant but you don't want your pole reaching the ceiling. Find the part of the plant where the leaves start to size up, and chop the plant and the pole at this point. The added bonus to your plant being rooted into a pole, is that it's already propagated! Place the top cut into a new pot, and then add the new pole on top. Remember, you MUST keep the pole moist at all times with a top cut, as it takes time for the pot to re-root. You now have a base cut too and can continue the process with this plant too (also makes a wonderful gift if you don't want two of the same plant) *Ideally, we're looking to attach that extension BEFORE the plant outgrows the pole. If you don't continue to give your plant a pole, that leaf size you worked so hard for, will begin to decline in size.
Moss poles aren't magic wands. Your plant won't transform overnight, and you'll need a little patience while those roots find their grip. But give it a season or two and you'll be amazed at the difference — taller, lusher and with leaves that actually look like the ones that made you fall in love with the plant in the first place. So go on, give your climbers something to reach for. X